What To Do if Your Water Heater Is Leaking From the Top

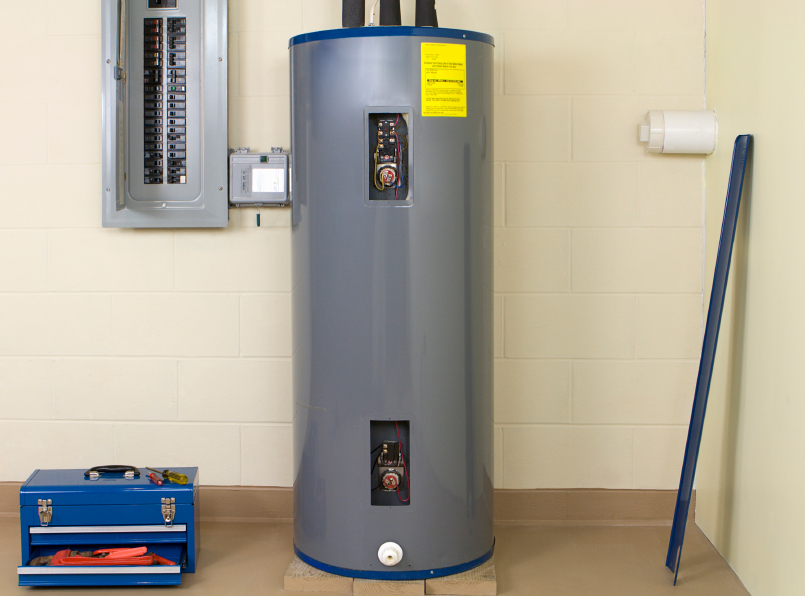
A water heater leaking from the top can turn a normal day into a scramble. If you see moisture around the top fittings or water pooling beneath the jacket, act quickly to prevent damage. In this guide, you will learn how to make the area safe, find the likely source, and decide if a repair or replacement makes more sense. If you need help now, Green Air Care offers same-day service and free replacement estimates.
First Things First: Make It Safe & Stop the Water
Top leaks usually start small and get worse under pressure. Take these steps before you troubleshoot.
- Turn off power.
- Electric: switch off the dedicated breaker.
- Gas: set the gas control to Off or Pilot, and do not relight yet.
- Close the cold supply. The shutoff valve is typically on the cold line at the top of the tank. Turn it clockwise.
- Relieve pressure. Open a nearby hot-water faucet for 10 to 20 seconds to lower tank pressure.
- Protect the area. Move items, lay towels, and set a bucket where water is dripping.
- Snap a few photos of the leak and serial label for warranty or insurance.
Hard fact: Green Air Care advises annual maintenance for electric units to sustain efficiency and lifespan. Frequent checks help catch small top leaks before they cause water damage.
Why Water Heaters Leak From the Top
- When water appears at the top of the tank, these are the most common sources:
- Cold and hot flex connections. Loose compression nuts, worn rubber washers, or failing braided lines can seep.
- Dielectric nipples. Corrosion at the threaded nipples where lines meet the tank can weep and stain.
- Shutoff valve on the cold line. Stems and packing nuts can drip, especially after being turned.
- T&P valve or its threaded connection. Some units mount the temperature and pressure valve at the top or route the discharge at the top. The valve can seep or the threaded joint can leak.
- Anode rod port. A loose hex plug or degraded sealing can allow seepage.
- Expansion tank connection. A failed bladder or loose fitting above the heater can drip onto the tank and look like a top leak.
- Venting and condensation. On gas models, vent pipe condensation can drip back if the slope is wrong or the cap is missing, mimicking a top leak.
Pro tip: Dry the area, then wrap a paper towel around each suspect joint. The first damp towel identifies the leak path.
Quick Homeowner Checks You Can Do Safely
You can perform several low-risk checks before calling a pro.
- Verify the shutoff valve is fully open or fully closed. Half-open valves can chatter and leak.
- Hand-check compression nuts on supply lines. If loose, tighten one quarter turn with a wrench. Do not overtighten.
- Inspect flex hoses. If you see bulging, kinks, or rust, replace the hose. Turn water off first.
- Check the T&P discharge tube. There should be no constant drip. If it is wet without recent heating, the valve may be failing or pressure is too high.
- Look for mineral tracks. White or green crust around nipples or the anode port signals a slow leak at threads.
Stop and call a professional if you notice any of the following:
- Rust streaks at the seam of the tank jacket
- Scalding water, discolored water, or a rotten egg smell
- Signs of gas leaks, such as sulfur odor or a loose vent
- Persistent dripping from the T&P valve
How Pros Diagnose a Top Leak
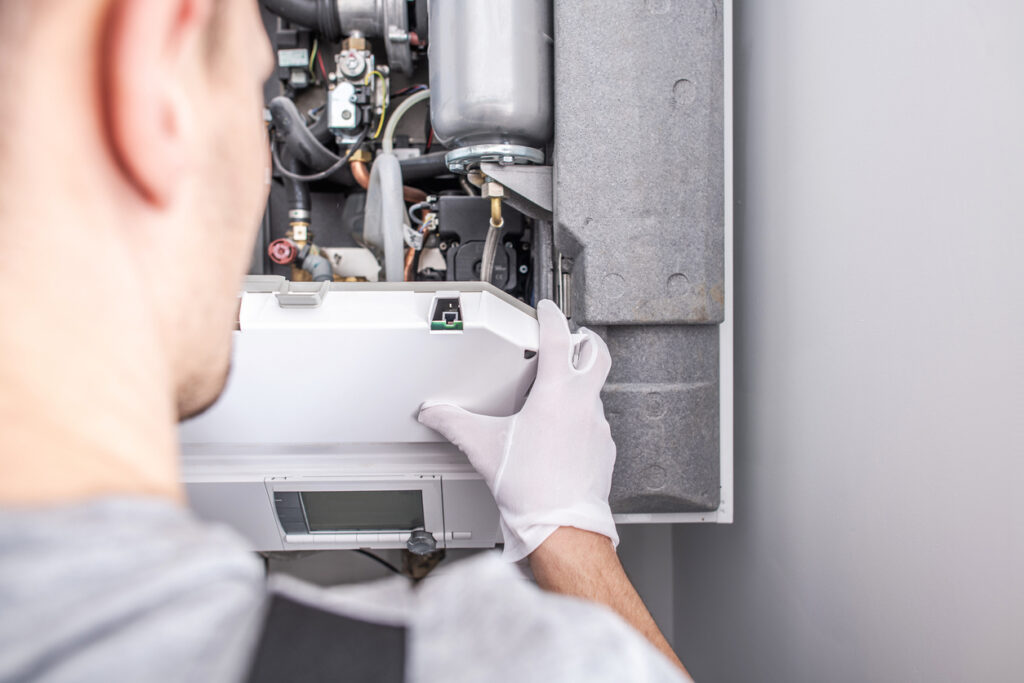
A licensed plumber will isolate pressure, examine each connection, and test the heater under operating conditions. Typical steps include:
- Pressure and temperature check to rule out excessive system pressure.
- Disconnect and reseal threaded joints with the correct sealant for the application.
- Replace worn washers in flex connectors or the shutoff valve packing.
- Inspect the anode rod port and dielectric nipples for corrosion and replace as needed.
- For gas units, evaluate the vent pitch to prevent condensate drip and verify a secure draft hood.
Green Air Care follows a proven process. We remove outdated components that cause leaks, size and calibrate replacements properly, and perform rigorous testing so the system runs safely and efficiently.
Repair vs. Replace: How To Decide
Use these guidelines to make a smart decision.
Age of the Heater
- 0–6 years: repair is often cost effective for leaks at fittings or valves.
- 7–12 years: weigh repair cost vs. efficiency and risk of future tank failure.
- 12+ years: replacement is usually the best bet, especially if corrosion is visible.
Location of the Leak
- At a fitting or valve: likely repairable.
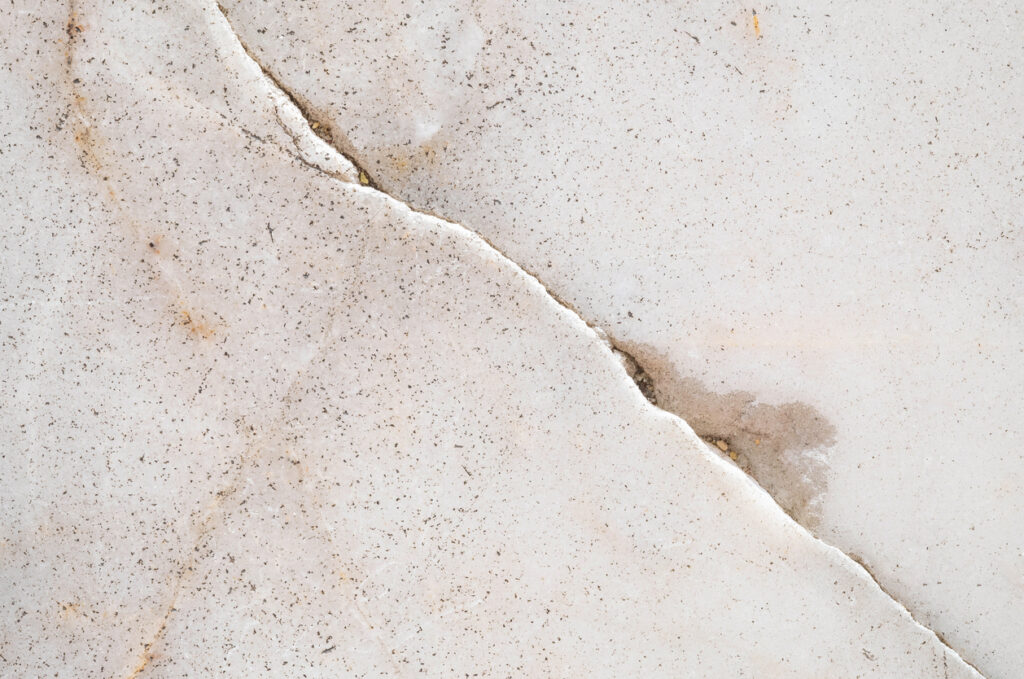
- From the tank seam or top plate: indicates internal corrosion. Replace.
Frequency
- If you have repeated drips after multiple fixes, internal deterioration may be advancing.
Energy & Performance Goals
- Upgrading to a high-efficiency or tankless system can reduce energy use and provide more hot water.
Hard fact: Tankless water heaters heat water only when needed and are highly energy efficient, which can cut standby losses and improve comfort for busy households.
Common Fixes for Top Leaks
Here are common remedies your plumber may recommend.
- Replace flex connectors and washers. This is often the fastest, safest fix for small top leaks.
- Reseat or replace dielectric nipples. A corroded nipple will continue to seep if not replaced.
- Rebuild the cold shutoff valve. Packing or stem kits stop drips at the handle.
- Replace the T&P valve and reseal threads. A weeping T&P can signal high pressure or valve failure.
- Address thermal expansion. Adding or correcting an expansion tank protects valves and the heater.
- Correct vent slope on gas models. Proper slope stops condensate from running back to the heater.
Note: Avoid DIY work on gas piping, soldered joints, or the T&P valve. Safety devices must be installed and tested correctly.
Preventing Future Leaks
A few proactive steps lower your risk and extend equipment life.
- Schedule annual maintenance. Cleaning debris from pilot assemblies, flushing sediment, tightening valves, and replacing worn seals maintain efficiency and lifespan.
- Flush sediment. Sediment shortens element life and raises operating temperature. A proper flush helps keep fittings tight.
- Check water pressure. High pressure stresses connections. Ask your plumber to test static pressure and install a regulator if needed.
- Inspect the expansion tank yearly. A failed bladder causes repeated valve leaks.
- Replace aging flex lines proactively. Most braided lines carry a service life. If yours are older than 8 to 10 years, replace them.
Electric vs. Gas vs. Tankless: What To Know After a Leak
If your top leak is the final straw, consider your next system with these points in mind.
Electric Tank
- Lower carbon footprint and consistent hot water.
- Annual maintenance keeps elements and thermostats in shape.
Gas Tank
- Faster recovery and reliable performance.
- Requires careful gas line assessment and verified leak-free fittings.
Tankless
- Endless hot water, space savings, and superior energy efficiency.
- Requires precise sizing by flow rate, professional installation, and calibration for best results.
Green Air Care services all brands, performs load calculations and sizing, calibrates new units, and disposes of old tanks in an eco-friendly manner. We also offer financing and discounts for veterans and seniors.
When You Need Help Now in the Chicago Area
Leaks never happen at a good time. Our team serves Chicago, Elgin, Waukegan, Schaumburg, Evanston, Arlington Heights, Palatine, Skokie, Des Plaines, and Mount Prospect. We provide same-day service and 24/7 emergency availability for urgent issues. Call 888-422-6899 and we will dispatch a trained technician who will assess, quote clearly, and get your hot water back quickly.
Step-by-Step Quick Response Checklist
- Kill power and close the cold supply.
- Relieve pressure at a hot faucet.
- Dry the top of the heater and test each joint with a paper towel.
- Tighten accessible compression nuts one quarter turn.
- If dripping continues, shut the supply and call a licensed pro.
- If water runs from the tank seam, plan on replacement and request a free estimate.
Keeping calm and following this sequence will limit damage and speed up a permanent fix.
Special Offer: Save $250 on Water Heater Replacement
Take $250 OFF your water heater replacement when you schedule with Green Air Care. Offer must be presented at time of estimate or service. Cannot be combined with other discounts. Expires 02/28/25. Visit https://greenaircare.com/specials/ for details and additional offers.
What Homeowners Are Saying
“My water heater went out on New Years Day morning. within 3 hours of my calling Green Air Care the service tech was at my house with a new water heater and had it replaced… I cannot believe how quickly and smoothly the whole process went.” –Homeowner, Chicago
“Fantastic experience to report with Green Air Care. I received multiple quotes to replace my 23-year-old water heater, and Green Air Care offered the best price on a high quality water heater. My installer was professional and paid attention to the details.” –Homeowner, Northwest Suburbs
“We had a very old water heater that sprung a leak in early January… John F. came out and was able to replace the water heater that same day. He did an excellent job with the installation and workmanship.” –Homeowner, North Shore
“Our water heater started leaking Sunday night… Called Green Air Care Monday morning and they had someone out by 2PM… By a little after 5 the new heater was installed, all code changes were up to date and we had hot water again before 6PM.” –Homeowner, Suburban Chicago
Frequently Asked Questions
Why is my water heater leaking from the top?
Top leaks usually come from loose flex connections, a failing shutoff valve, corroded dielectric nipples, a seeping T&P valve, or an anode rod port.
Is it safe to tighten fittings myself?
Yes, a quarter turn on accessible compression nuts is fine after shutting water. Stop if you see corrosion or if the drip continues.
Can I keep using hot water if the leak is small?
Avoid using hot water. Pressure and heat can worsen a top leak and cause more damage. Shut off the supply and call a pro.
Do I need a new heater if water drips from the tank seam?
Yes. A seam or top plate leak indicates internal corrosion. Replacement is the safe, cost-effective fix.
How often should my water heater be maintained?
At least once a year. Annual service helps maintain efficiency, reduce breakdowns, and extend the unit’s lifespan.
Bottom Line
A water heater leaking from the top is usually fixable when it is confined to fittings, but a seam leak means replacement. Act fast, make the area safe, and get a clear diagnosis. For fast help in Chicago and nearby suburbs, call our team today.
Ready for Help Now?
- Call Green Air Care at 888-422-6899 for same-day service.
- Schedule online.
- Mention “$250 OFF Water Heater Replacement” before 02/28/25 to apply your discount.
Whether you need a quick repair or a calibrated, energy-efficient replacement, our certified pros will get your hot water back fast and safely.
About Green Air Care
Green Air Care is Chicago’s trusted home services team for plumbing, water heaters, HVAC, and indoor comfort. Our technicians are NATE certified, we are BBB A+ accredited, and we offer same-day service, free replacement estimates, and financing. We service all brands, size and calibrate new systems, and dispose of old units in an eco-friendly way. Proudly serving Chicago, Elgin, Waukegan, Schaumburg, Evanston, and nearby communities.


